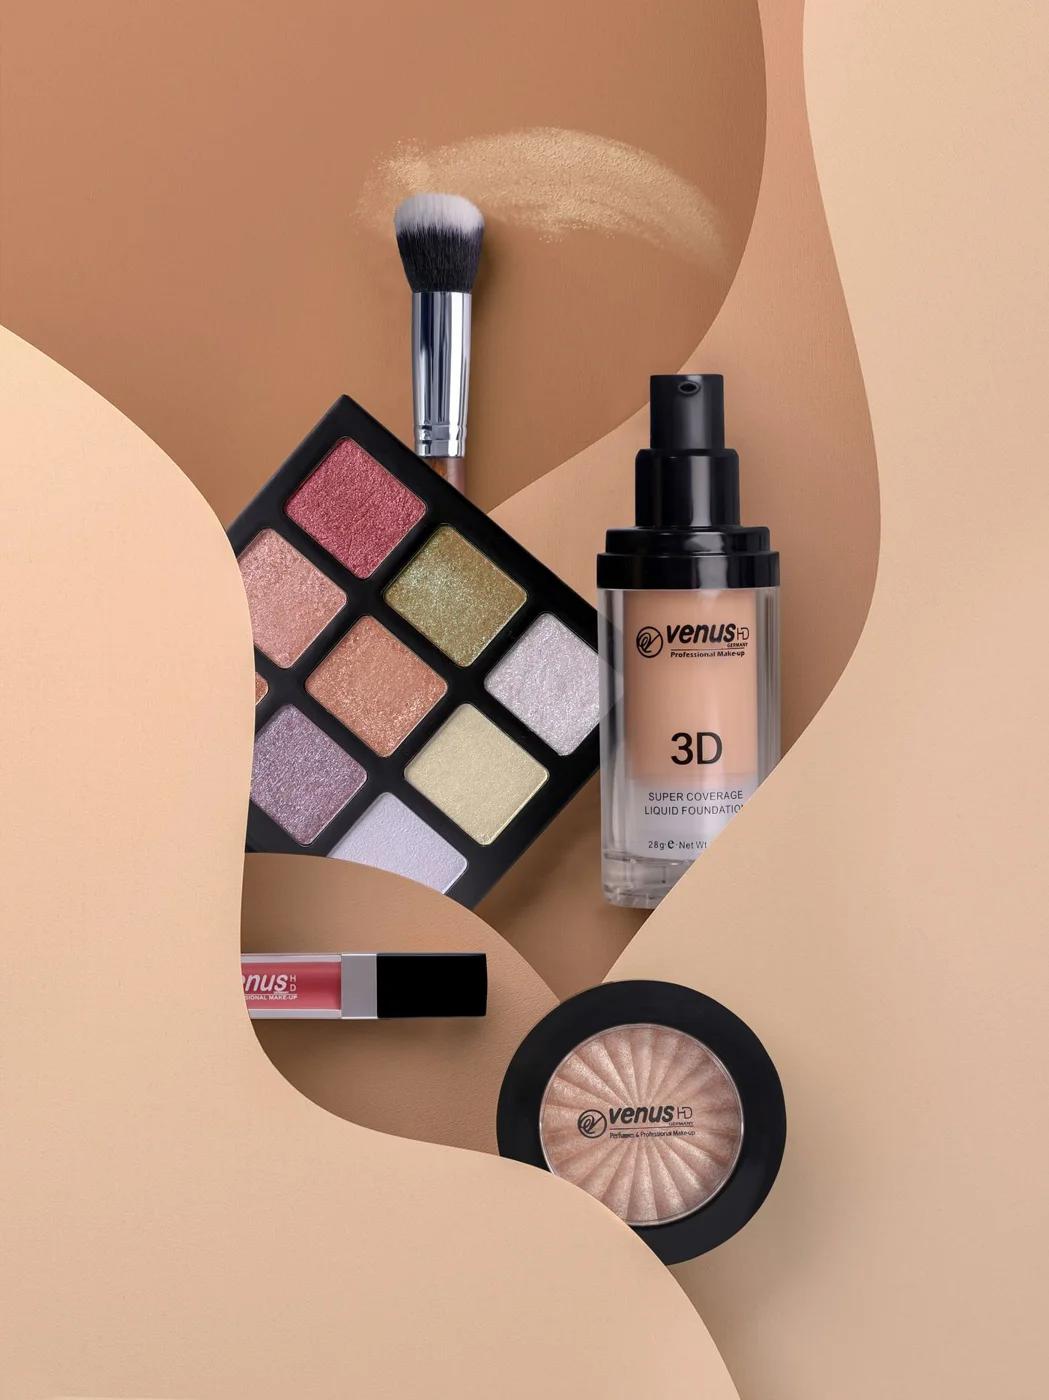
Highlighter can look like a soft reflection, a visible sparkle or a glossy patch. Those effects are not interchangeable, even when the products share a color. Before changing where you apply it, work out which kind of light you want to see.
Tilt a small swatch rather than judging it only head-on. Some particles become visible mainly when the angle changes. Check in the lighting where you usually spend your day. A finish that looks delicate under a shop's lights may sparkle more strongly beside a window, and that may or may not be what you want.
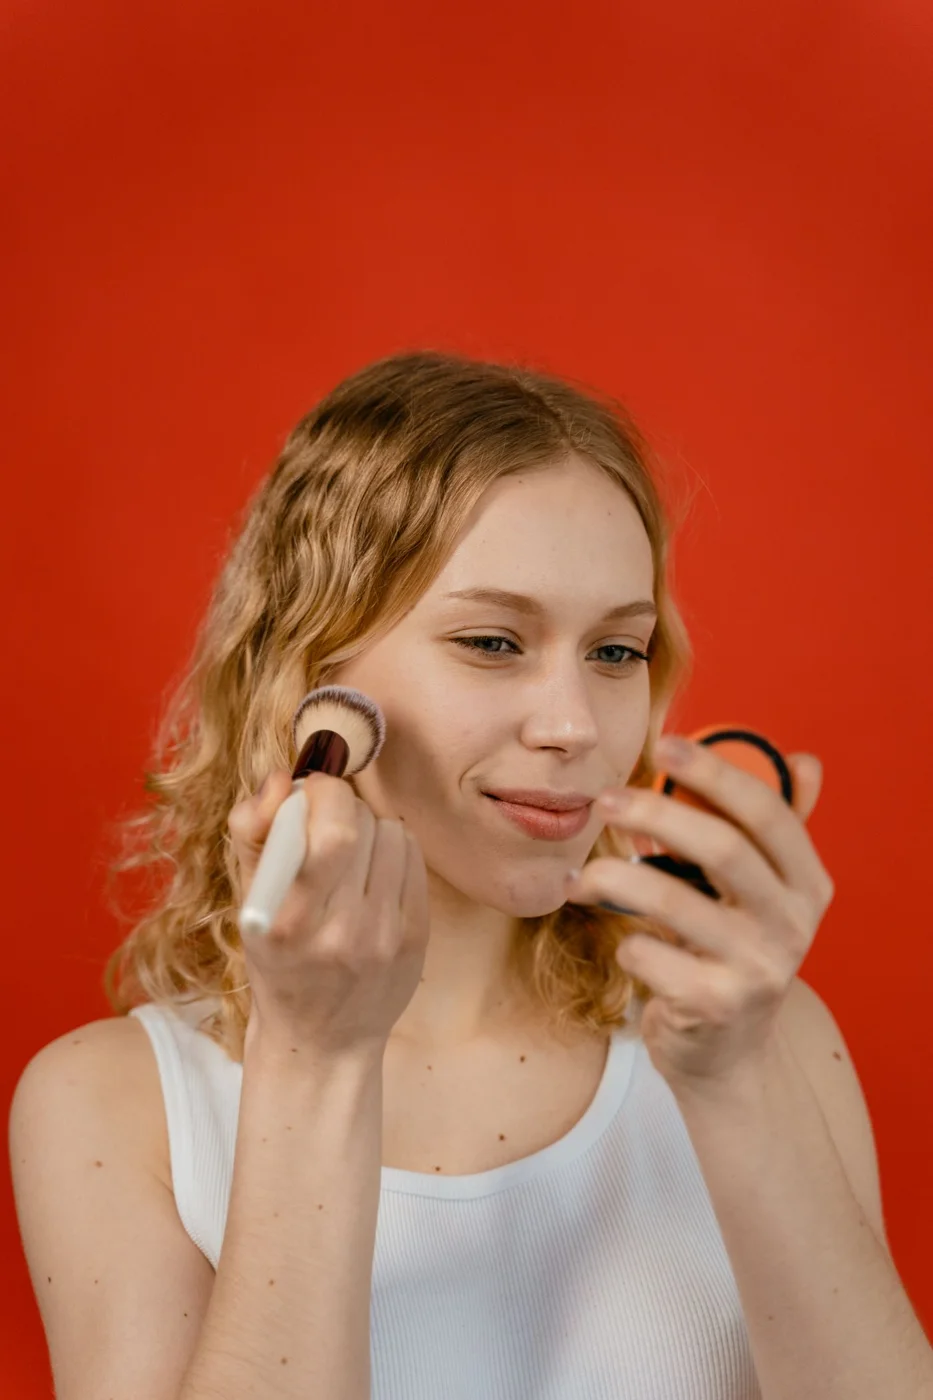
For a restrained result, begin with a small area and a small amount. Place the product where you want the reflection to appear when you turn, then look at the whole face. You do not have to connect every highlighted area into one continuous strip.
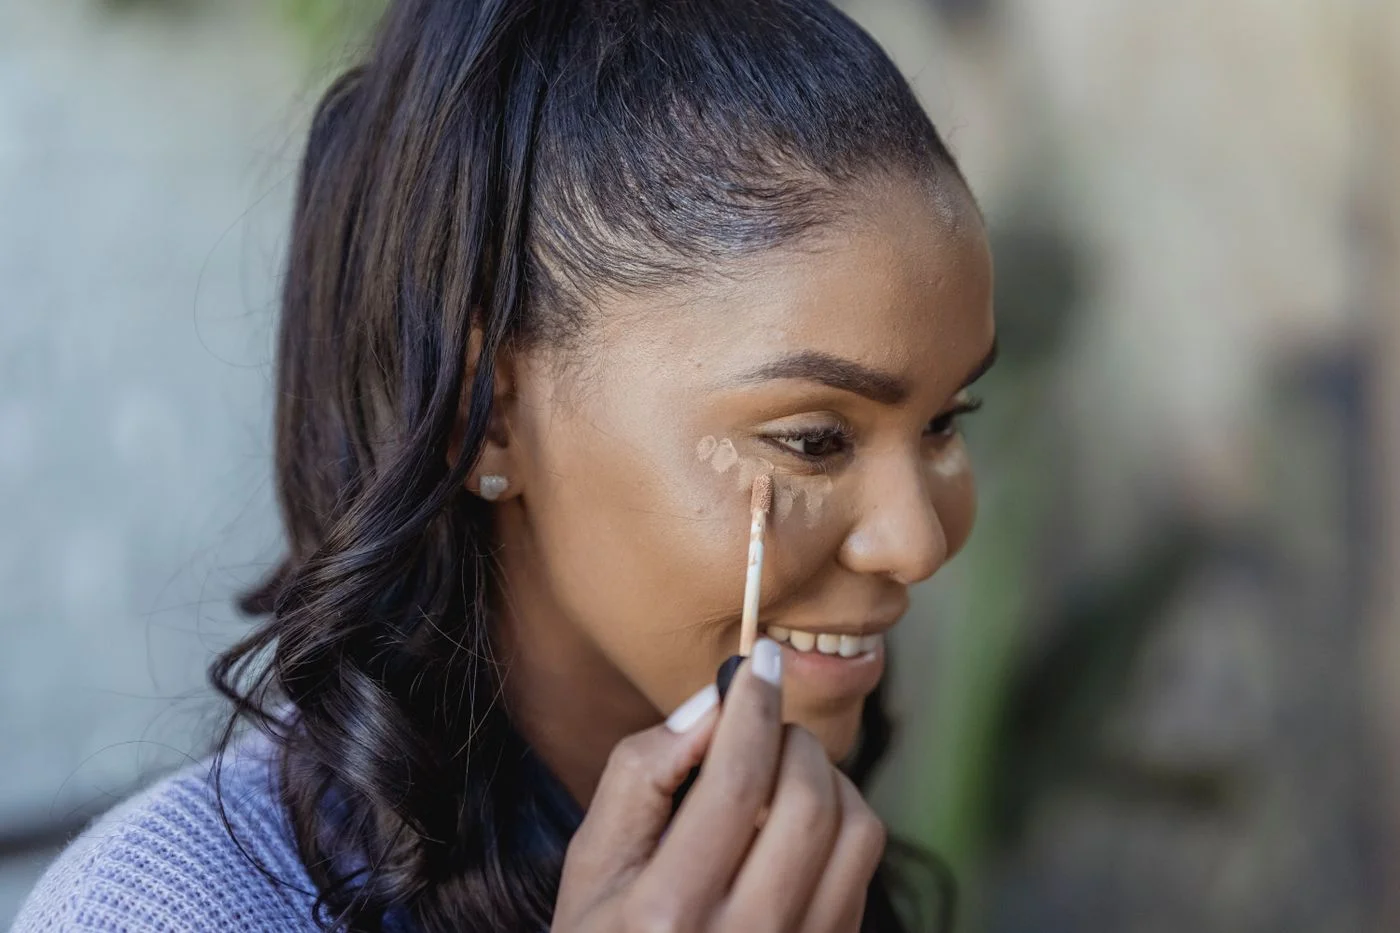
A clean, appropriate brush can help soften an edge without bringing more product to the same spot. If you use a liquid or cream, check its directions and compatibility with the base beneath it. Tapping and repeated rubbing can give different results; stop if the application begins lifting the foundation rather than blending with it.
Texture is also a reason to leave an area alone. A reflective finish may draw attention to a surface detail you were not trying to emphasize. There is no need to cover that detail with more foundation first. You can simply move the highlight, use less or skip it on that part of the face.
Try viewing the result from normal conversation distance before making another adjustment. Makeup does not need to look identical in a magnifying mirror and in a room. The close view can reveal details that nobody, including you, will notice in ordinary use.
If the effect is already coming from a dewy base or a luminous blush, a separate highlighter may add little. Compare one cheek with and without it on a quiet practice day. That small experiment can answer whether the extra step contributes something you enjoy, or whether the finish you wanted was already there.